CAUTION!!
CAUTION!! CAUTION!!
THIS CHIP IS STATIC SENSITIVE. USE GROUND STRAP WHEN
INSTALLING OR HANDLING THIS I.C.!
Remove all power from the circuit board
before replacing
IC.
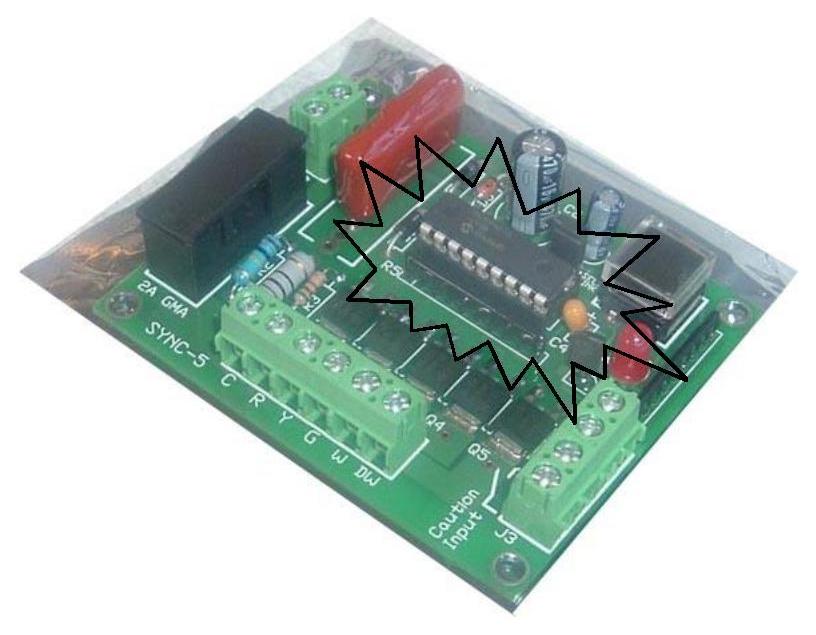
Note orientation of IC before removing. A small indentation in the lower left corner of the IC (just below a notch on the left end) represents pin 1. Make sure new IC is inserted into the socket the same way. Installing the IC upside down may result in damage to the IC as well as the circuit board itself.
Remove the IC by using an IC-remover tool (available at Radio-Shack or similar electronic store) or by very carefully placing a small flat-blade screw driver under one end of the chip and gently prying up a small amount. Do the-same for the other end. Repeat procedure until the chip is almost loose. The chip can then be removed by hand.
Carefully insert new IC, making sure all pins go straight
into the corresponding socket holes without bending.
Make sure IC is seated firmly into the socket.
Installation complete.
For additional information, visit www.joezgarage.com